Table of Contents
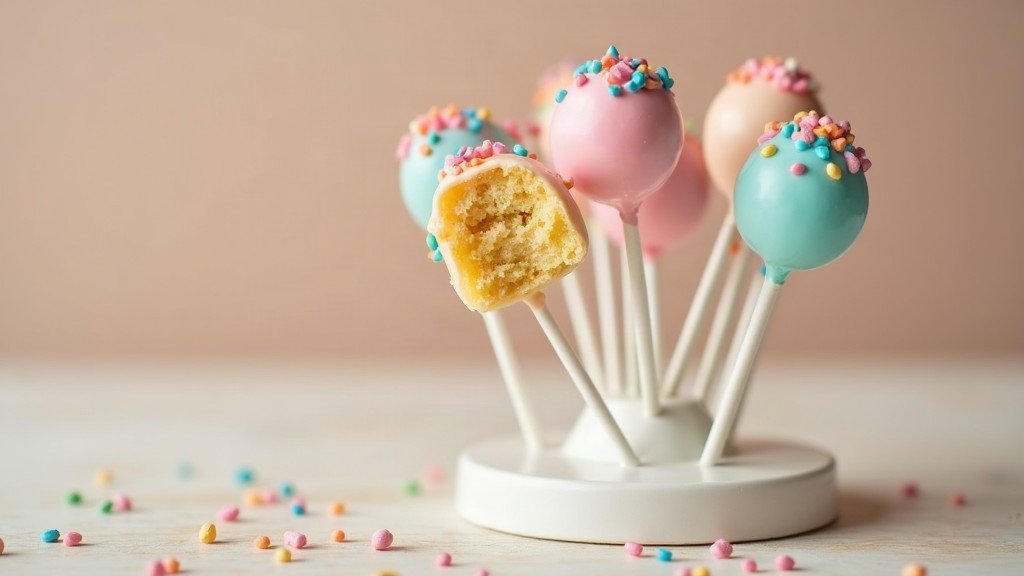
The best cake pop recipe starts with one simple idea: tender cake, just enough frosting, and a smooth coating that sets around every bite. Cake pops can look like a project, but the process is much more forgiving than it seems. I’ll walk you through the ingredients, shaping method, coating technique, and practical fixes that help beginners feel confident.
This is also a wonderfully flexible dessert. You can use a homemade cake or a plain store-bought one, change the frosting flavor, and decorate each pop to match a celebration. The goal is not perfection; it’s a soft, sweet center with a neat chocolate or candy shell.
What makes the best cake pop recipe work?
The best cake pop recipe depends on balance: the cake needs to be moist enough to hold together, while the frosting should bind it without turning the mixture heavy or sticky. Crumbling the cake finely is just as important because large chunks make the finished pops crack or fall apart.
I recommend starting with a fully cooled cake. Vanilla, chocolate, red velvet, and lemon all work well. Remove any firm edges if they seem dry, then crumble the soft cake into very fine crumbs. For the binder, choose a frosting that complements the cake. Vanilla frosting is an easy match for yellow or vanilla cake, while cream cheese-style frosting pairs naturally with red velvet.
You’ll also need lollipop sticks, candy melts or melting chocolate, and decorations such as sprinkles, sanding sugar, or a drizzle in a contrasting color. If you enjoy making small treats for parties, you may also like these soft marshmallow cookie bites for another playful dessert idea.
Ingredients and useful equipment
Keep the ingredient list simple, and focus on texture rather than buying a long list of specialty items.
- Cooled baked cake, homemade or store-bought
- Frosting that matches the cake flavor
- Candy melts or melting chocolate for coating
- Lollipop sticks
- Sprinkles, crushed cookies, or other decorations
- A large bowl for mixing
- A baking sheet lined with parchment paper
- A heatproof bowl for melting the coating
- A fork, spoon, or cake-pop dipping tool
Start with less frosting than you think you need. You can always add more, but a mixture that is too soft becomes difficult to roll and dip. The finished cake mixture should feel like soft dough: it should press together easily without leaving a thick coating on your hands.
If you have leftover chocolate cake or want another baking project to use as inspiration, this soft chocolate dessert recipe shows how small ingredient changes can affect texture and sweetness.
How to make the cake pop mixture
Making the mixture is the foundation of soft, evenly shaped cake pops. Work gradually, and pause as soon as the crumbs hold together.
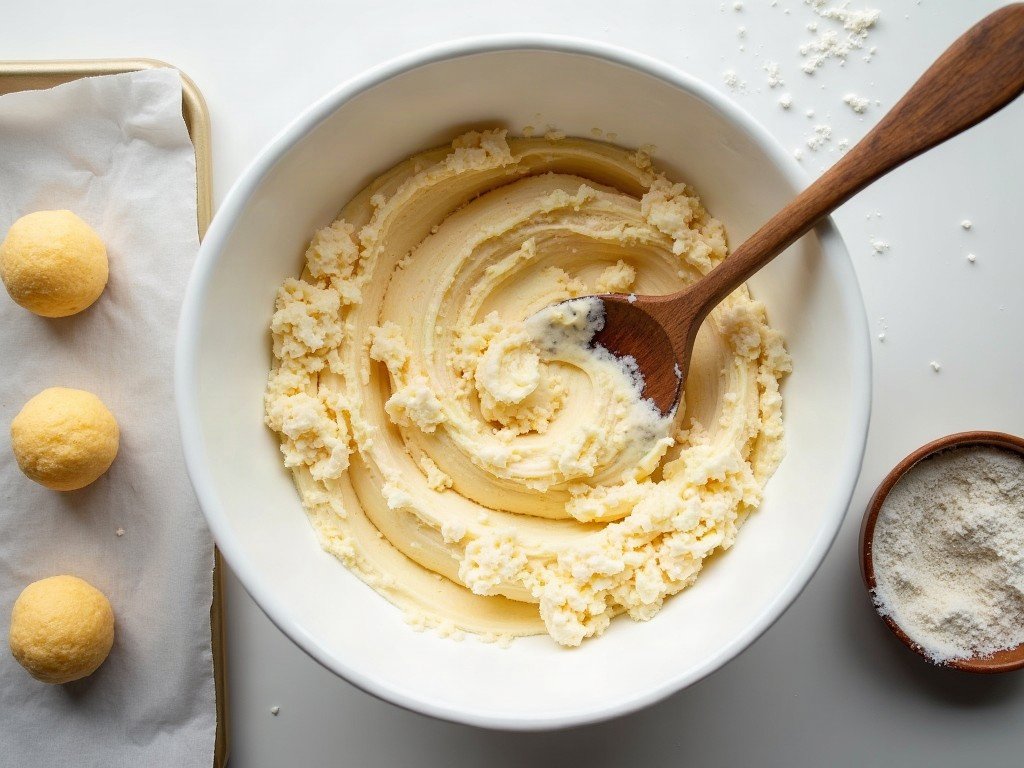
- Crumble the cake. Break the cooled cake into a large bowl and rub the pieces between your fingers until the crumbs are fine and even. Remove any hard crust pieces.
- Add frosting slowly. Spoon in a small amount of frosting and mix it through the crumbs. Continue adding small amounts only until the mixture clumps together when pressed.
- Check the texture. Press a little mixture in your palm. If it holds its shape without cracking, it is ready. If it crumbles, add a little more frosting. If it feels greasy or very sticky, mix in more cake crumbs.
- Shape the balls. Scoop equal portions and roll them gently between your palms. Avoid compacting them too firmly, since dense cake pops can feel heavy.
- Chill the shaped cake pops. Arrange the balls on the lined baking sheet and chill them until they feel firm enough to dip. They should be cold and set, not frozen solid.
Uniform shapes make the coating stage easier, but they do not need to be perfectly round. A slightly smaller cake pop is usually easier to dip than an oversized one, especially if you are new to working with candy coating.
How to insert the sticks and coat cake pops
The cleanest cake pops come from securing the sticks before dipping and keeping the coating fluid but not hot.
- Melt a small amount of coating. Place the candy melts or melting chocolate in a heatproof bowl and melt it gently, stirring often. The coating should flow from a spoon in a smooth ribbon.
- Dip each stick first. Dip the tip of a lollipop stick into the melted coating, then push it partway into a chilled cake ball. The small amount of coating acts like glue.
- Let the sticks set. Return the cake pops to the lined sheet and give the coating a moment to firm around the stick before dipping the whole pop.
- Dip carefully. Hold the stick and lower the cake pop straight into the coating. Cover the cake completely, then lift it out and allow excess coating to drip back into the bowl.
- Rotate gently. Turn the stick slowly instead of shaking the cake pop. A gentle tap against your hand can help remove extra coating without damaging the cake.
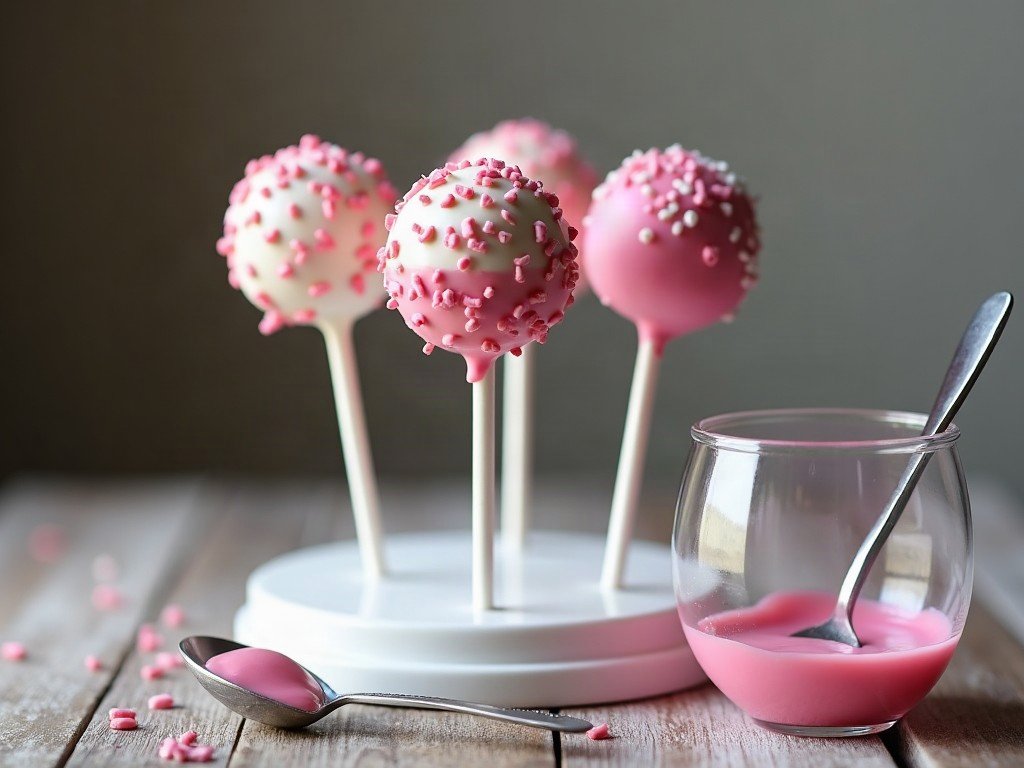
- Decorate immediately. Add sprinkles or crumbs while the coating is still wet. Once it sets, decorations will not stick well.
- Let them set upright. Stand the finished pops in a cake-pop stand, a sturdy glass, or a piece of clean foam until the outside is firm.
If the coating becomes thick, warm it gently and stir until smooth again. Avoid adding water, which can make melting chocolate seize. A small amount of shortening may help some candy coatings loosen, but follow the instructions on the package when available.
Easy flavor and decoration variations
Once the basic method feels comfortable, flavor variations are an easy way to make the same recipe feel new.
- Vanilla sprinkle pops: Use vanilla cake and vanilla frosting, then finish with colorful sprinkles.
- Chocolate pops: Pair chocolate cake with chocolate frosting and dip the balls in dark or milk chocolate coating.
- Red velvet pops: Use red velvet cake and a tangy cream cheese-style frosting, then decorate with white coating.
- Lemon pops: Add lemon-flavored frosting to a light cake and use white coating with fine yellow sprinkles.
- Cookie crumb pops: Roll the freshly coated pops in finely crushed cookies before the shell sets.
- Party pops: Match the coating and sprinkles to the colors of a birthday, shower, or holiday table.
For another sweet option with a different texture, you can browse these chocolate chip almond flour cookies. They are not a substitute for cake pops, but their chocolate-and-cookie flavor combination can inspire your coating and decoration choices.
Common cake pop problems and how to fix them
Most cake-pop troubles come from moisture, temperature, or handling. The good news is that many are easy to correct.
The cake balls crumble
The mixture probably needs a little more frosting, or the cake crumbs may be too coarse. Add frosting in very small amounts and mix thoroughly before adding more.
The cake balls are too sticky
Too much frosting makes the mixture soft and difficult to shape. Add more fine cake crumbs, then chill the balls until firm.
The coating cracks
Cracking can happen when the chilled center and warm coating react to each other. Let the cake balls lose some of their chill before dipping, and avoid making the coating excessively hot.
The cake pops slide off the sticks
The cake ball may be too large, too soft, or not secured with a little coating at the stick. Dip the stick tip first, insert it partway into the cake ball, and allow that connection to firm before the full dip.
The coating looks uneven
Let excess coating drip away naturally, and rotate the pop slowly. If the coating is too thick, rewarm it gently and stir until it flows smoothly.
The cake pops have flat sides
This is normal when they rest on a baking sheet. To keep a rounder shape, stand them upright after dipping or turn them carefully while the coating begins to set.
Serving, storing, and making them ahead
Cake pops are easiest to serve once the outer coating has fully set. Arrange them upright on a platter, wrap them individually for gifting, or place them in small paper cups for a dessert table.
For storage, follow the instructions for the cake, frosting, and coating you use, since those ingredients can vary. Keep finished cake pops in a clean, covered container and protect them from heat and humidity. If you are preparing them ahead, shape the cake balls first, then coat and decorate them closer to serving so the finish stays neat.
For a mixed dessert spread, pair cake pops with a simple cookie selection. These cookie dough-inspired bites offer another small-format treat, although they should be served according to their own recipe instructions rather than used as cake-pop filling.
Frequently asked questions
Can I use boxed cake?
Yes. A cooled boxed cake works well, and using one can make cake pops much less time-consuming. Choose a cake that is fully cooled before crumbling it.
Do I need a special cake-pop pan?
No. This method uses baked cake that is crumbled and mixed with frosting, so you do not need a special pan. A regular cake, loaf, or leftover cake pieces can work.
Can I use frosting from a tub?
Yes. Ready-made frosting is convenient and can bind the crumbs effectively. Add it gradually because different frostings vary in thickness.
Why do my cake pops taste dense?
They may contain too much frosting or may have been packed too firmly when shaped. Use just enough binder to hold the crumbs together and roll gently.
Can I make cake pops without sticks?
Absolutely. Shape the mixture into bite-size truffles and dip them with a fork. Let the excess coating drip away before placing each one on parchment.
When you are ready to make the best cake pop recipe, keep the process relaxed: crumble finely, add frosting slowly, chill until firm, and dip with a gentle hand. Those four habits do most of the work. Then choose your favorite cake-and-coating combination, add a shower of sprinkles, and enjoy a dessert that looks special without demanding professional decorating skills.
Honest lite reviews of recipes, taste, simplicity, and serving ideas
There are no reviews yet. Be the first one to write one.